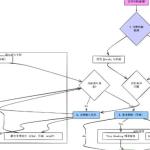
To accelerate your website through Cloudflare, you need to follow the steps below to set up and configure it. These steps include domain name settings, access to Cloudflare, configuring cache and other settings, and testing site performance.
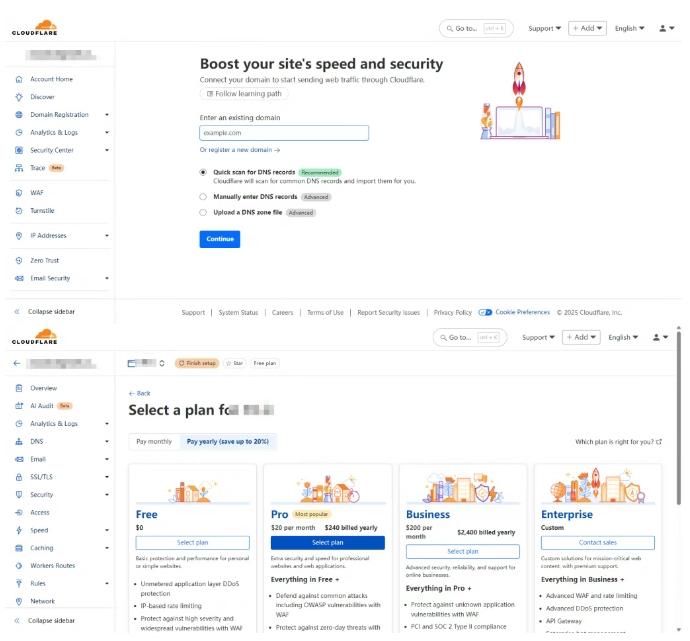
3. Update DNS settings
DNS record scan: Cloudflare will automatically scan your DNS record. Make sure that these records are correct and make sure that all necessary records (such as A records, CNAME records, etc.) are listed.
Change the domain name server: Cloudflare will provide two new domain name servers (NS). You need to log in to your domain registrar (such as GoDaddy, Namecheap, etc.) and change the domain name server to a server provided by Cloudflare. After the change, it may take some time (usually a few hours to 48 hours) to take effect. 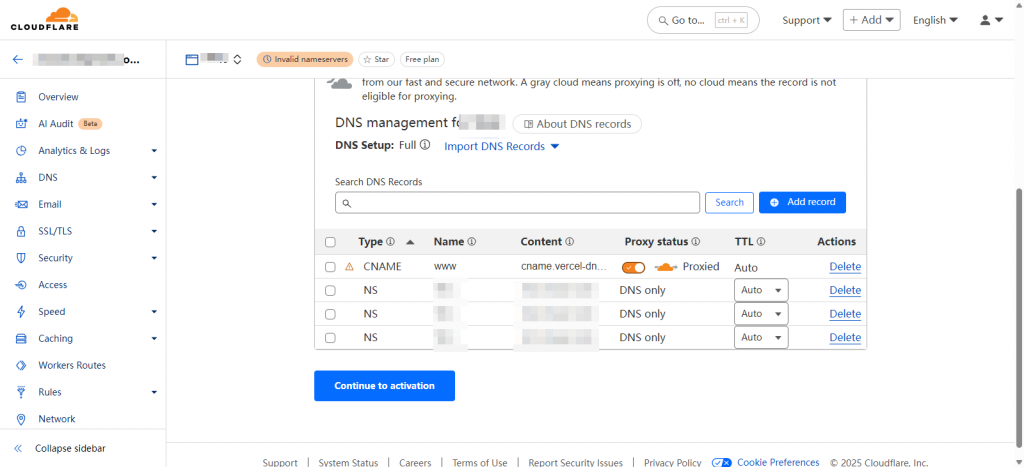
4. Configure Cloudflare settings
4.1 Cache Settings
Accessing Cache Settings: In the Cloudflare dashboard, select your website and click the "Caching" tab.
Enable caching: Make sure that "Caching Level" is set to "Standard" or "Aggressive" to cache more content.
Set expiration time: You can set "Browser Cache TTL" (browser cache survival time) as needed, and it is recommended to set it to "1 hour" or "1 day".
Enable automatic cache cleaning: In the Configuration section, enable the "Always Online" feature to provide cached content when the source server is unavailable.
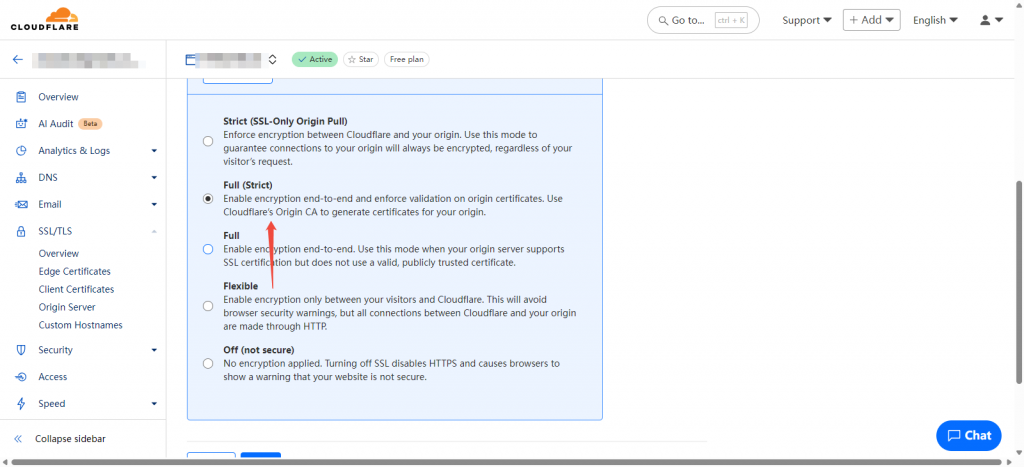
4.2 SSL/TLS settings
Access SSL/TLS settings: Click the "SSL/TLS" tab.
Select SSL mode: Select the SSL mode that suits you (such as "Flexible", "Full", or "Full (Strict)"). If your source server supports SSL, it is recommended to select "Full (Strict)" for security.
Access performance settings: Click the "Speed" tab.
Enable automatic optimization: Enable the "Auto Minify" function and select the file type (HTML, CSS, JavaScript) to compress.
Enable Rocket Loader: If your website uses JavaScript, you can enable "Rocket Loader" to speed up JavaScript loading.
5. Test website performance
Use online tools: You can use tools such as GTmetrix or Pingdom to test the loading speed and performance of your website.
Check Cloudflare status: In the Cloudflare dashboard, view the "Analytics" tab to monitor traffic, cache hits, and other performance metrics.
6. Monitoring and Optimization
Regularly check settings: Regularly log in to the Cloudflare dashboard, check cache settings, DNS records and security settings to ensure everything is normal.
Analyze traffic data: Use the analysis tools provided by Cloudflare to monitor traffic changes and user behavior and make corresponding optimizations.
Conclusion
Through the above steps, you can successfully connect the website to Cloudflare and configure it accordingly to achieve acceleration and optimization. Regular monitoring and tuning settings will help keep your website performing optimally.

Jun 24, 2025
Jun 24, 2025
Jun 24, 2025


Jun 24, 2025

By clicking the button, you are agreeing with our Term & Conditions

